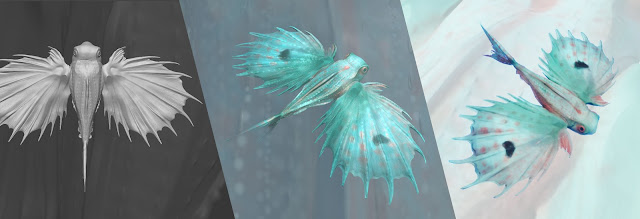
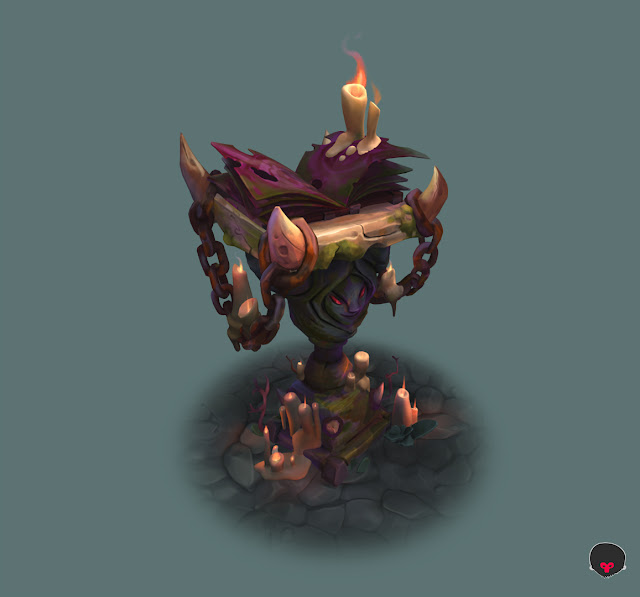
WEEK THREE | Texturing in Substance was done this week as well as displaying the final in Unreal.
 |
| In Substance editor |
 |
| Coloring/opacity layer reference |
 |
| Underbelly reference |
*********************************************************************************
WEEK TWO | With Nick's notes, I have added textures by using alphas and creating my own brushes as well as deeper defining areas and adding a few wrinkles in jointed / movable areas.
 |
| Custom Brush for the main torso scales |
 |
| Wireframes |
 |
| Cuts for UV |
 |
| UVs |
For part three, in Substance painter, I am going to try and use alpha masks similar to
this goldfish model and with this work process:
- Switch to the shader which includes alpha.
- Above the channels, there's a PLUS SIGN on a tiny button. Click it and add an Opacity channel.
- In this example, create a fill layer.
- In the properties of the fill layer, you'll see color, heigh, opacity, rough, and metal. Make sure OP is selected. You can now change the greyscale value with a slider, thus selecting what opacity this surface has.
*********************************************************************************
WEEK ONE | This week I learned how to start a sculpt solely in ZBrush. This is the model that resulted.


Comments
Post a Comment